Technique
Proving sourdough in a cold UK kitchen: free fixes and kit that helps
Why sourdough slows down in a 16–18°C British kitchen, how to use warm water and desired dough temperature, free warm spots in a UK home, and proving kit worth considering.
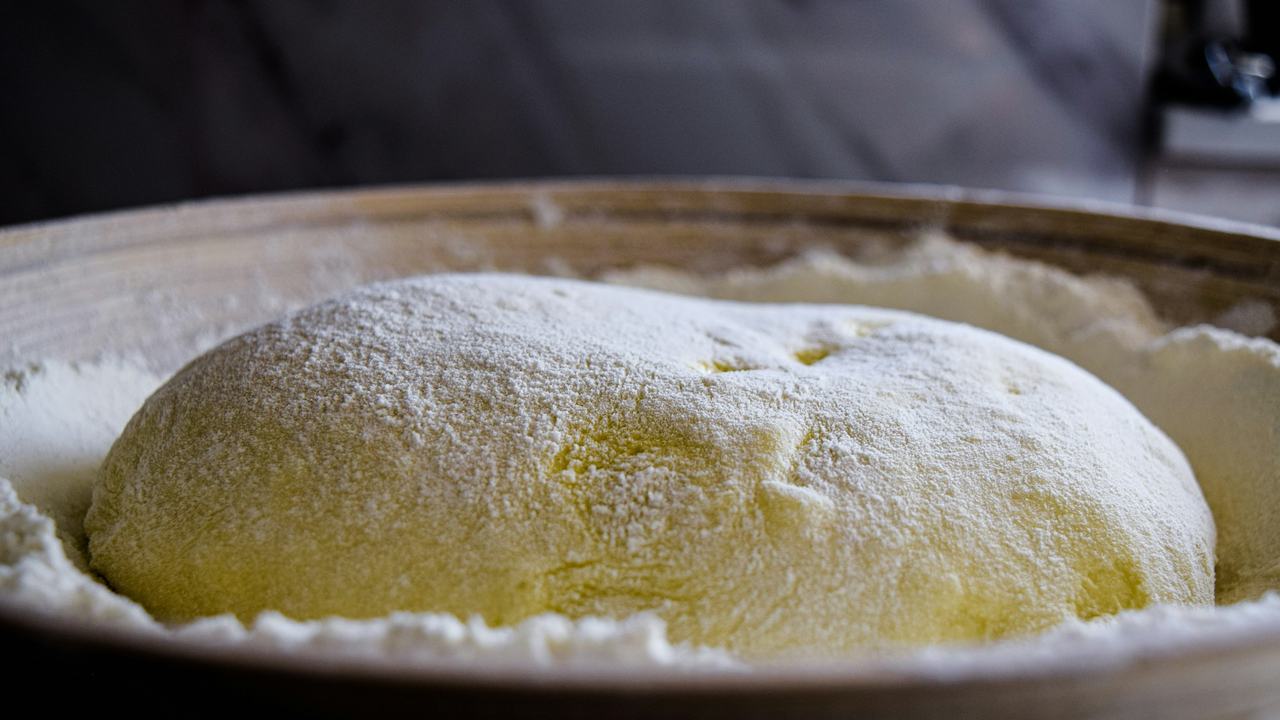
Most sourdough recipes – especially those from American books and websites – quietly assume a kitchen of around 24–26°C. A typical British kitchen between October and April is nearer 16–19°C, and colder overnight when the heating goes off. That gap matters: fermentation slows sharply as temperature drops. A bulk ferment that takes 4–5 hours at 25°C can take far longer at 18°C, and a starter that doubled in five hours in July may barely rise in January.
The good news is that a cold kitchen isn't a problem once you plan for it – and slow, cool fermentation develops more flavour. This guide covers how to measure, how to warm things up for free, and which bits of kit genuinely help.
The short version
- Measure your room and dough temperature – you can't manage what you don't measure.
- Use warm water to hit a target dough temperature of about 24–26°C at the start of bulk.
- Find a warm spot: an oven with just the light on, a microwave with a mug of hot water, or near (not on) a radiator.
- Lean into the cold: retard the shaped loaf in the fridge overnight and bake in the morning.
- Consider a proofer only if you bake often and the free tricks aren't enough.
At a glance
Our shortlist from published specifications – jump to each product for the reasoning. No prices shown: they change daily.
| Product | Best for | Key details | Link |
|---|---|---|---|
| TempPro TP03H instant-read thermometer | Probe | Instant-read · IPX6 water resistance | View on Amazon Ad |
| DOQAUS instant-read food thermometer | Probe | Instant-read · Backlit display | View on Amazon Ad |
| Brod & Taylor Proofer Top pick | Best dedicated proofer | Thermostatically controlled · Folds flat for storage | View on Amazon Ad |
| Brod & Taylor Folding Dough Proofer with accessory shelf | Proofer + shelf | Folding proofer · Accessory shelf included | View on Amazon Ad |
| Hyindoor Seedling Heat Mat (heated propagator mat) | Heat mat | Waterproof mat · Low-wattage | View on Amazon Ad |
How we put this guide together
This is a research-based guide built from widely taught fermentation principles; we haven't tested the products shown here ourselves. Products were chosen on published specifications such as temperature range and capacity, and were listed on Amazon UK when we checked.
Step 1: measure
An instant-read probe thermometer tells you two things: the temperature of your water before mixing, and the temperature of the dough after mixing. A cheap one is fine.
TempPro TP03H instant-read thermometer
- Instant-read
- IPX6 water resistance
- Backlit display
Inexpensive, quick, and also useful for checking a loaf is baked through (centre around 96–98°C).
DOQAUS instant-read food thermometer
- Instant-read
- Backlit display
An equally simple alternative. Any instant-read probe that reads in °C does the job for dough.
Step 2: use desired dough temperature (DDT)
Professional bakers control dough temperature with water temperature. A simple version of the formula for a sourdough mix is:
Water temperature = (target dough temperature × 3) − room temperature − flour temperature − starter temperature
Example for a chilly British kitchen: target 25°C, room 17°C, flour 17°C, starter 20°C. (25 × 3) − 17 − 17 − 20 = 75 − 54 = 21°C water.
In practice, a cold mixing bowl and worktop pull heat out of the dough, and hand-mixing adds very little friction heat, so many home bakers in winter find they need water a few degrees warmer than the formula suggests – often somewhere in the high 20s °C. Mix, then check the dough with your probe and adjust next time. Avoid water much above 35°C, which can stress the yeast.
Pre-warming the bowl with hot water for a minute also helps more than you'd think.
Step 3: find (or make) a warm spot – free options
- Oven with the light on (oven off). In many ovens the bulb alone raises the temperature by several degrees. Test it with your thermometer first – some get too warm. Put a note on the oven door so nobody preheats it with your dough inside.
- Microwave with a mug of just-boiled water. A small insulated box; replace the water every hour or so.
- Near a radiator or boiler cupboard. Not on top – the base of the bowl can get far too hot.
- A cool box with a hot-water bottle, wrapped in a towel. Surprisingly stable.
- On top of the fridge, which is often a degree or two warmer than the worktop.
Step 4: let the cold work for you
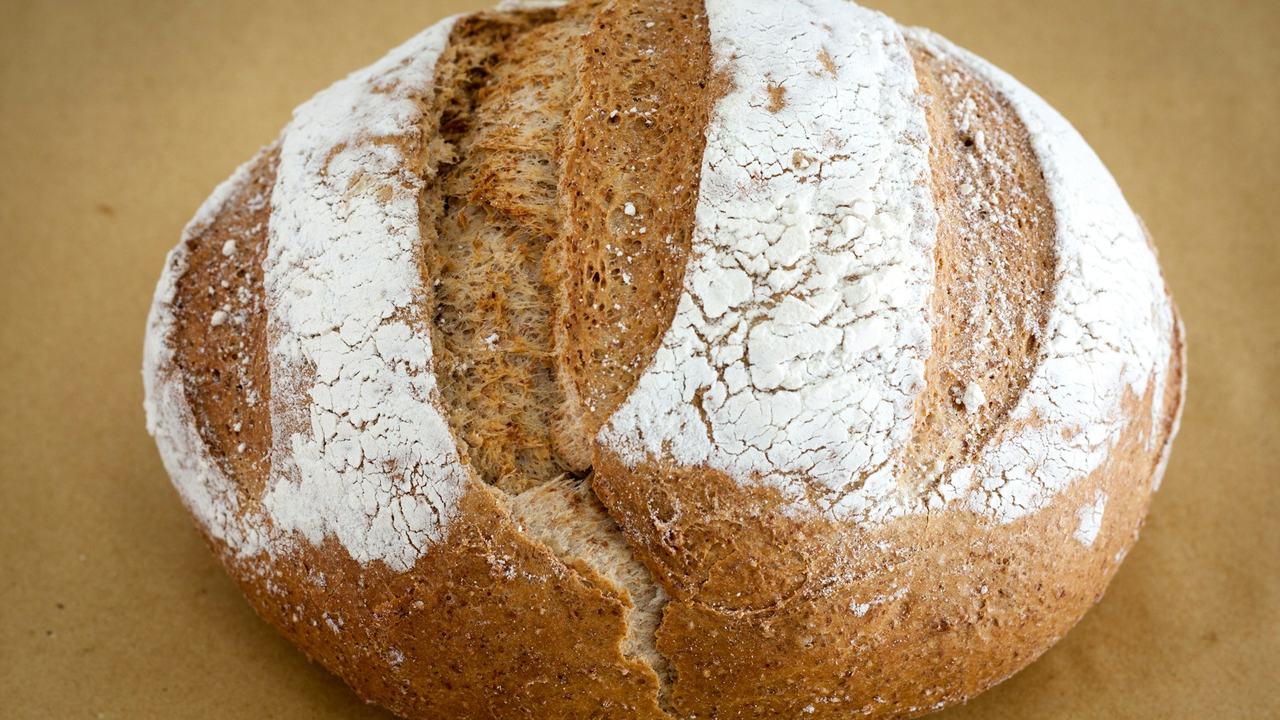
Slower fermentation isn't a failure – it produces more acidity and flavour. Two strategies suit UK homes:
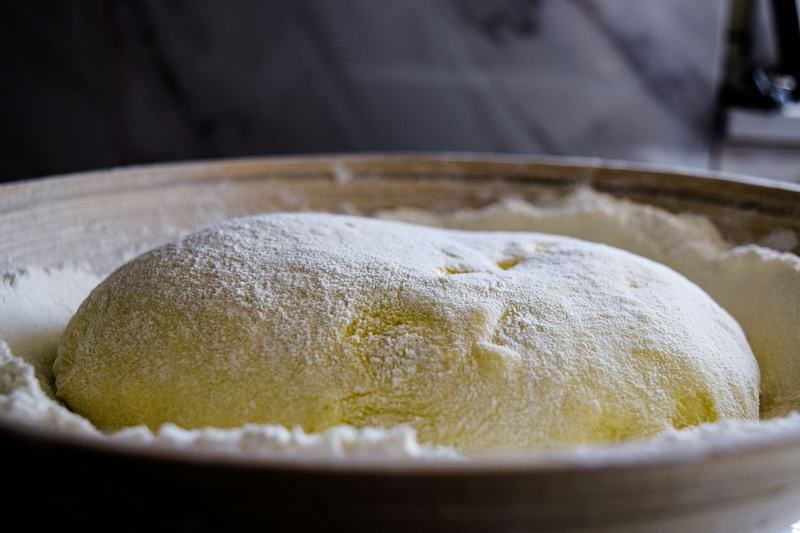
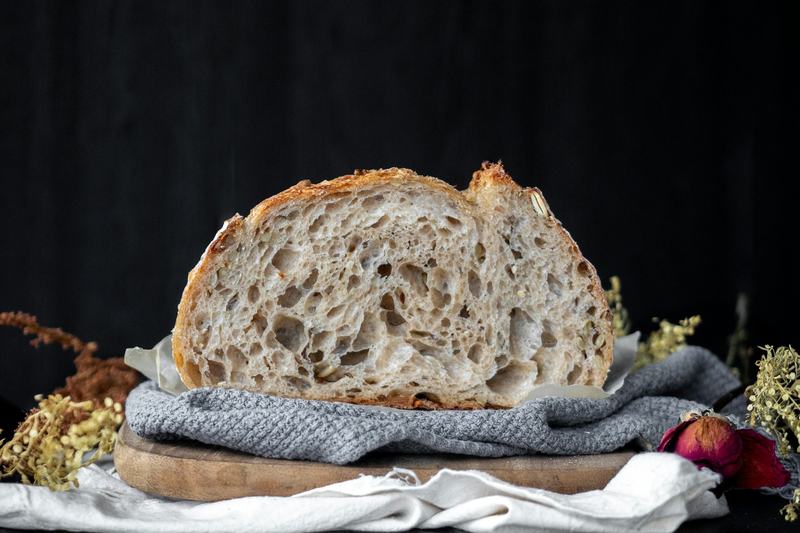
- Long, cool bulk. Mix in the morning with warm water and let bulk run through the day at room temperature, judging by the dough (roughly 50–75% rise, domed, bubbly edges, jiggly) rather than the clock.
- Overnight retard. Shape in the evening, put the banneton in the fridge (ideally 3–5°C) for 8–16 hours, and bake straight from the fridge. Cold dough is easier to score, too – see our lame guide.
Keeping a starter happy in winter
- Feed with water at around 26–28°C.
- Add 10–20% rye or wholemeal flour to the feed – wholegrains ferment more vigorously.
- Use a higher ratio of old starter to fresh flour (e.g. 1:2:2 instead of 1:5:5) so it peaks sooner.
- Keep it in your warm spot during the day.
Kit that helps if you bake often
Dedicated proofers
Best dedicated proofer
Brod & Taylor Proofer
- Thermostatically controlled
- Folds flat for storage
- Also marketed for yoghurt and melting chocolate
The best-known home proofing box. You set a temperature and it holds it, which turns fermentation timings from guesswork into something repeatable. It's an expensive item, so it only makes sense if you bake several times a week, but it's the definitive fix for a cold kitchen.
Brod & Taylor Folding Dough Proofer with accessory shelf
- Folding proofer
- Accessory shelf included
A bundle that adds a shelf so you can prove a starter jar and a bowl at the same time. Compare the bundle against buying the proofer on its own – sometimes the difference is small.
A cheaper improvised option
Some home bakers use a seedling heat mat with a thermostat under a box or cool box to create a gently warmed space. These are horticultural products, not designed for food use, so if you try this: put the mat outside a closed container (never in contact with food), use a thermostat, keep it dry, and never leave it unattended for long periods.
Hyindoor Seedling Heat Mat (heated propagator mat)
- Waterproof mat
- Low-wattage
- Designed for seed propagation – not a food appliance
Included because it's a popular improvised option, with the caveats above. Buy a version with a thermostat or add a separate plug-in thermostat so temperature stays controlled.
Troubleshooting
| Symptom | Likely cause in a cold kitchen | Fix |
|---|---|---|
| Dough barely risen after 6 hours | Dough temperature under 20°C | Warmer water, warm spot, extend bulk |
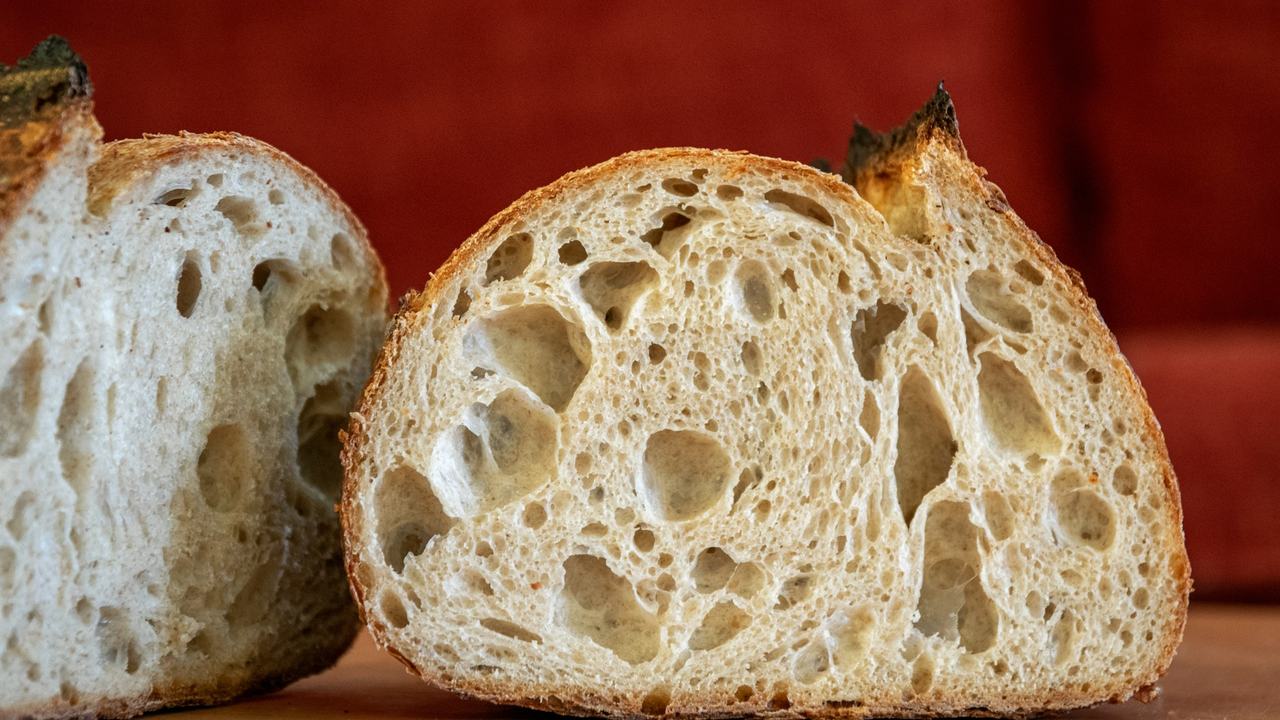
| Dense, tight crumb | Under-fermented bulk | Longer bulk; judge by rise, not time |
| Flat loaf that spreads | Over-proofed in a warm spot | Check more often; shorten final prove |
| Starter smells of acetone | Hungry starter | Feed more often or at a higher ratio |
The bottom line
A cold British kitchen just means planning around temperature: measure it, use warm water, find a warm spot, and use the fridge to your advantage. Buy a proofer only once you know you'll use it every week.